
[ad_1]
I’m not going to lie – I thought paint pouring was a doddle! How hard can it be to mix some acrylic paint in a cup and then pour it out onto a canvas? Well, I stand corrected! In this post I will share with you the numerous mistakes and mishaps I made on my first attempt at paint pouring, and share some tips I have picked up to help you hopefully get a better result the first time.
Get your ratio’s right!
I made it easy for myself and used the Daler Rowney System 3 Paint Pouring range, no need for floetrol, PVA, water, cell activators – just paint, pouring medium and silicone oil. Most people have a set of kitchen scales – use them! Don’t guesstimate the amount of paint to the amount of pouring medium. Measuring the actual quantity will result in a better pouring consistency.
Take your time
Stirring your colours too rigorously will create air bubbles so always take your time to gently mix them. Mixing your paints as far ahead of time as you can will reduce the number of air bubbles or white spots in your finished painting. White spots are caused by bubbles in the base coat popping through the paint. Some fluid artists make their paints up the day before. This allows them to settle to bring any air bubbles to the surface.
Silicone Warning!
Go easy with the amount of silicone oil you use. If you are using the System 3 Paint Pouring range then they recommend one to two drops. Make sure you wipe the excess off the pipette before hand to make sure you get the correct dosage. Using too much silicone can result in a pitted surface on your finished painting.
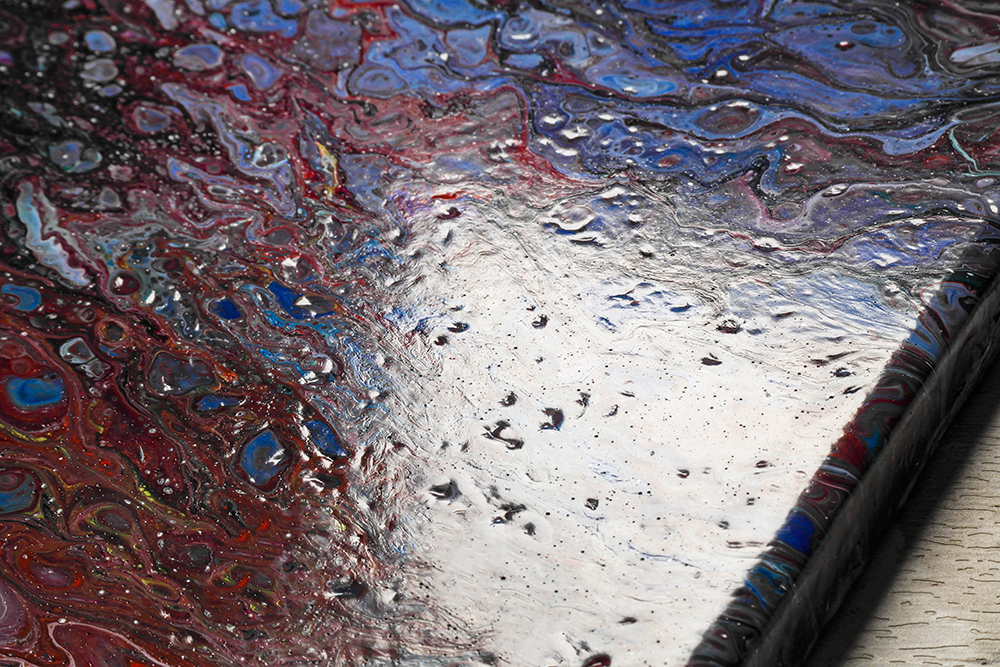
You don’t need to put silicone oil in every colour you make up either. Silicone oil aids the creation of cells by helping the paint to move. Cells are created by different densities of pigments causing some to rise to the top and others to sink. For example, white is the densest pigment, that is why it’s used as either a base coat or a top/swipe coat. The white immediately sinks and creates cells and lacing effects. It’s this gravitational movement in the paint that causes the cells. You can find acrylic paint density charts on the internet. Keep practising and experimenting with different densities of paint and the amount of paint to medium.
Go steady with the blow torch
Using a catering blow torch can help activate the silicone oil, causing it to rise to the surface and create cells. You should always use keep the torch approximately 20cms from the paint surface otherwise you could scorch the paint. Prolonged use of the blow torch can dry the top layer before the underneath is dry. This makes it difficult to move the paint and can also cause indentations in the paint surface.
It is possible to use a hair dryer, but you need one that has a directional heat tool attached, otherwise you could end up with paint on your ceiling! Use the hairdryer on the lowest heat and power setting and stay 20 cms away from the surface of your painting. The same applies to craft heat guns.
Carefully pick your surface
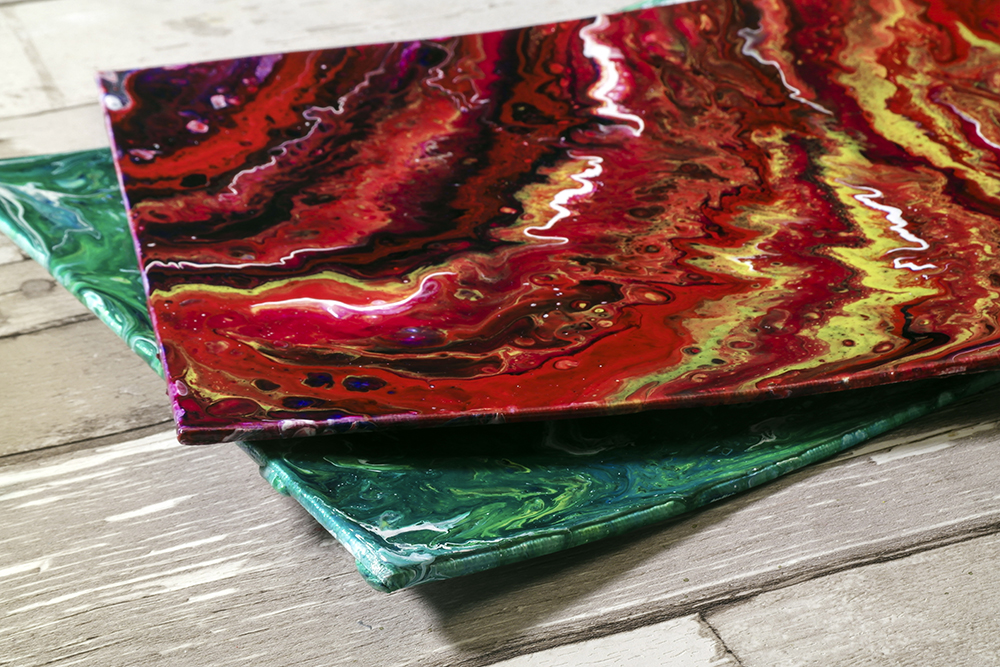
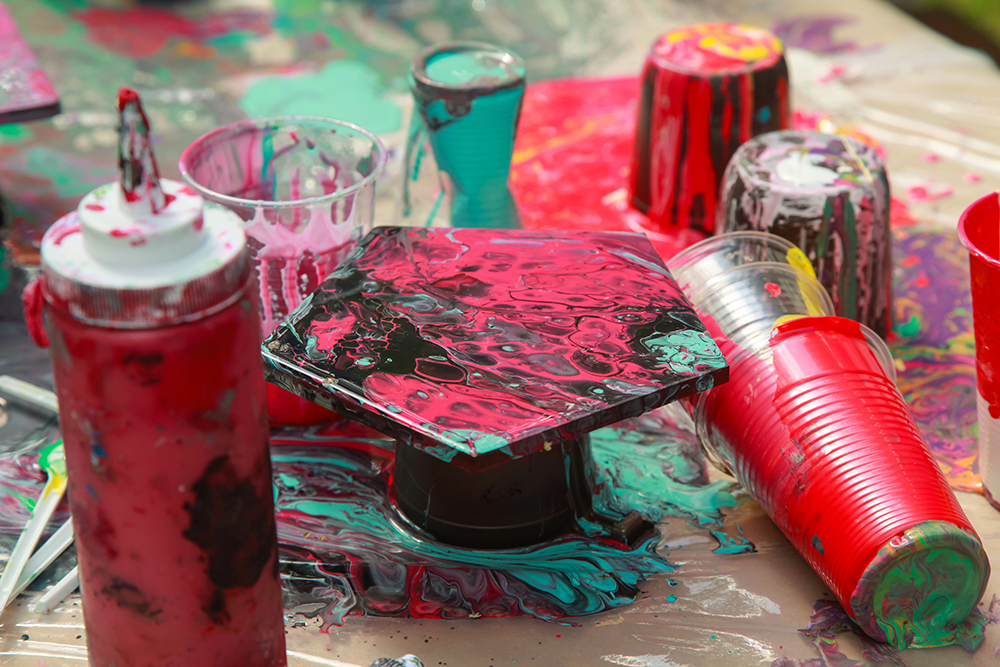
Don’t use canvas boards – they warp! A standard stretched canvas or an ampersand panel work well. Other surfaces like ceramic tiles, acrylic panels and glass are also good alternatives.
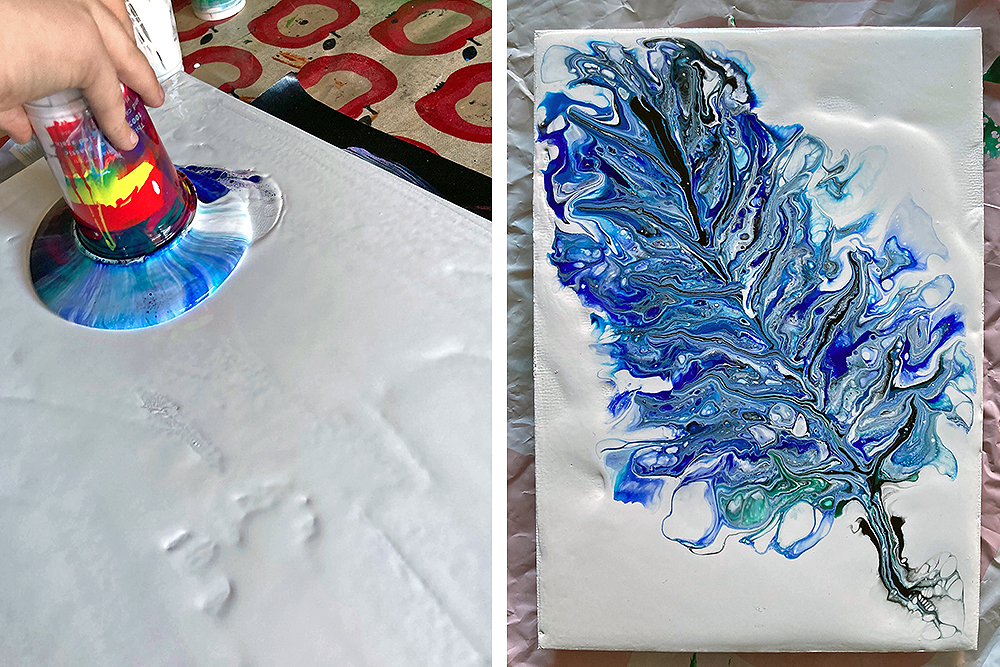
Use the right size cup
It’s important to use the right size cup when you are doing a flip cup pour. If your cup is too big the paint will mix in the empty space when the cup is flipped over. The denser paint, like titanium white, will fall to the bottom of the cup, mixing, as it falls through the other colours.
Prime your surface
Always use a base coat on your surface, this helps your pour to move all over the surface. It is important to make sure your base layer is level if you are doing a pour that isn’t intentionally covering the whole of the surface.
Go steady with the pour
Once you have poured your paint out onto the surface you are able to start tilting your canvas. If you tilt too quickly or sharply the pour will move a lot faster and might ruin an effect you have already achieved, so take your time and slowly let the paint travel across the surface.
If you havent got a palette knife try using a comb, a silicone pastry brush or an old store card to move the paint about.
Pour any excess paint onto the corners of your canvas. The paint will pool into a puddle shape naturally, so the corners are usually the last place to get the paint.
Seal your work
Make sure you seal your finished piece. Many artists favour a gloss finish achieved with either a gloss varnish or resin. You must make sure that your painting is completely dry before sealing it. If you have excess silicone oil on the surface try and rub in some cornflour and leave it overnight to soak up the oil. Wipe away residue with a warm, soapy rag (not too wet) and then leave your pour to dry.
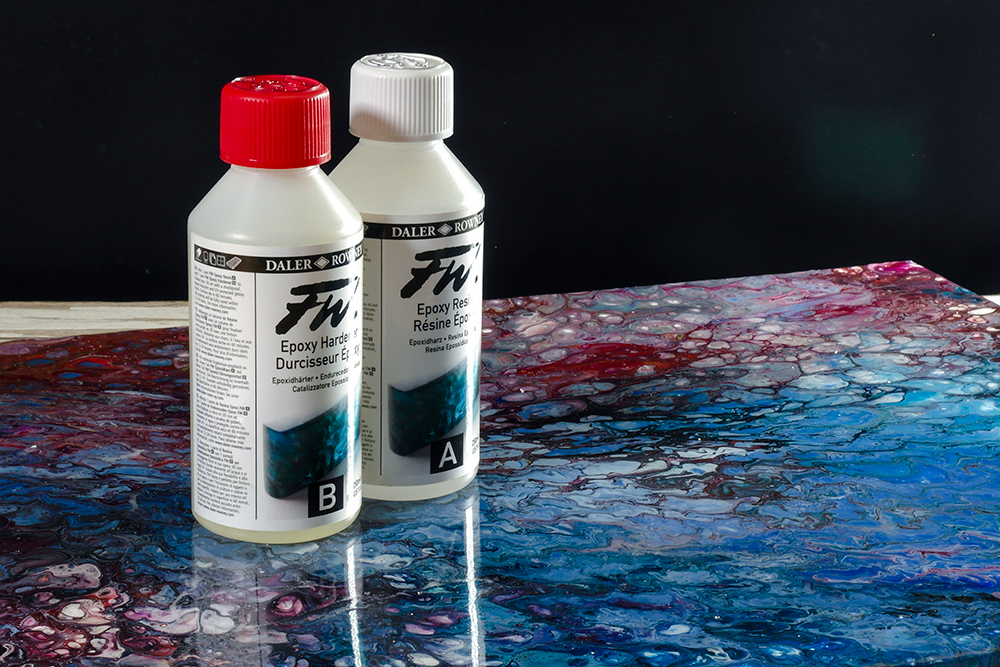
I have found resin particularly successful in hiding a multitude of sins whilst creating a high gloss finish. If you are apply resin to a stretched canvas you will need to make sure it is absolutely level, it may help to put something solid between the canvas crossbars and the underside of the canvas surface. Resin is self levelling so if there is a slight dip in the centre of the canvas the resin will settle in the dip and it becomes difficult to get the resin to the edges.
Start again
If it all goes wrong, scrape the paint off your canvas whilst its still wet. Wait for your canvas to dry, gesso it and start again!
Paint pouring is not as easy at it looks
It takes time, experimentation and plenty of practice. Keep notes of the ratio’s you have used in successful paintings, colours that work well together and colours that create cells together. Expect the unexpected and have fun!
[ad_2]
Source link

:strip_icc()/BHG_PTSN19720-33d9cd22f6ab49e6a21982e451321898.jpg "Fresh and Airy Interior Design Living Room Ideas for Summer")


More Stories
Fresh and Airy Interior Design Living Room Ideas for Summer
Where Art and Sound Converge: Exploring Fine Art Photography and Music Artist Portraiture
Cooking Chinese Cuisine with Ease Using Jackery Solar Generator 5000 Plus