These paper luminaries began as a project for our December “Solstice” guide. I was so inspired by how they turned out that I ordered a star hole punch and just kept making more!
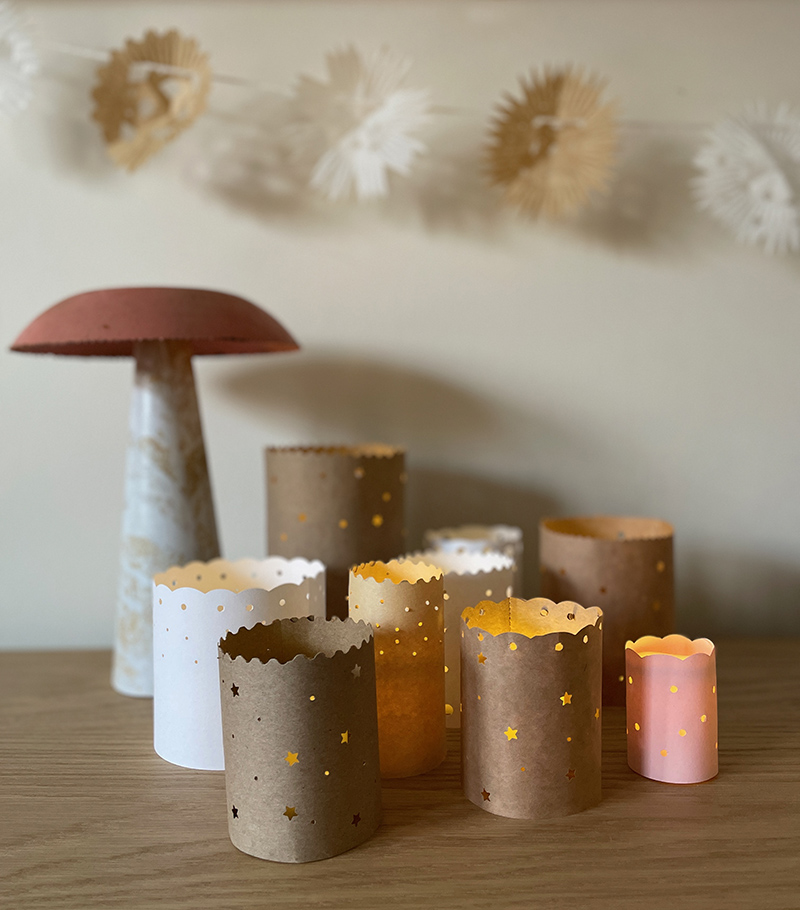
The idea started as a simple cutting and hole punching station for children using construction paper. In our December guide, we also suggest using little battery operated tea lights at home or in the classroom to set a more peaceful, relaxed mood. Putting the two together… and you have these amazingly charming luminaries!
Watch my IG reel on the making of these here!
[ I am a participant in affiliate programs designed to provide a means for bloggers to earn small fees at no cost to you by linking to Amazon.com and affiliated sites. ]
Supplies for Paper Luminaries:
~ Construction paper and/or brown paper bags
~ Straight scissors and decorative edge scissors
~ Small hole punches (I used 1/8″ and 1/16″)
~ Long reach hole punch (1/8″) for larger pieces of paper
~ Glue stick
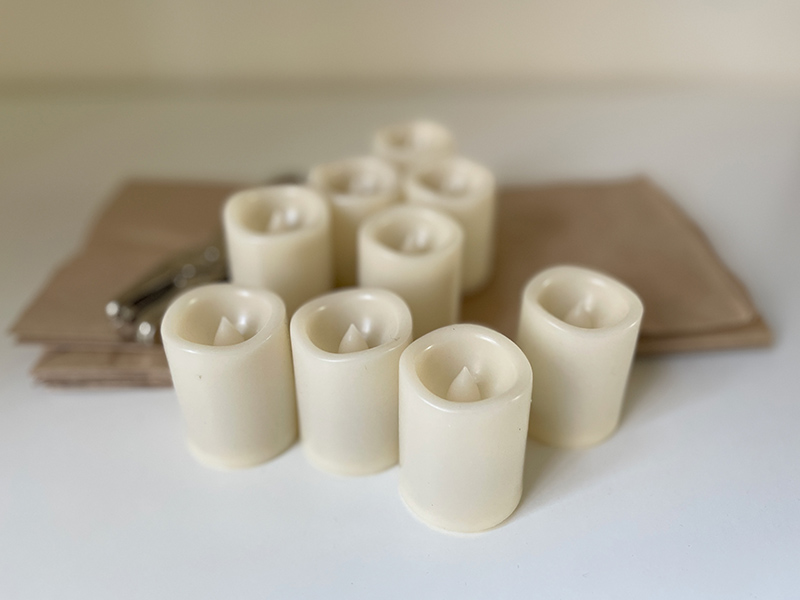
~ Battery operated LED tea lights with remote
How to make Paper Luminaries:
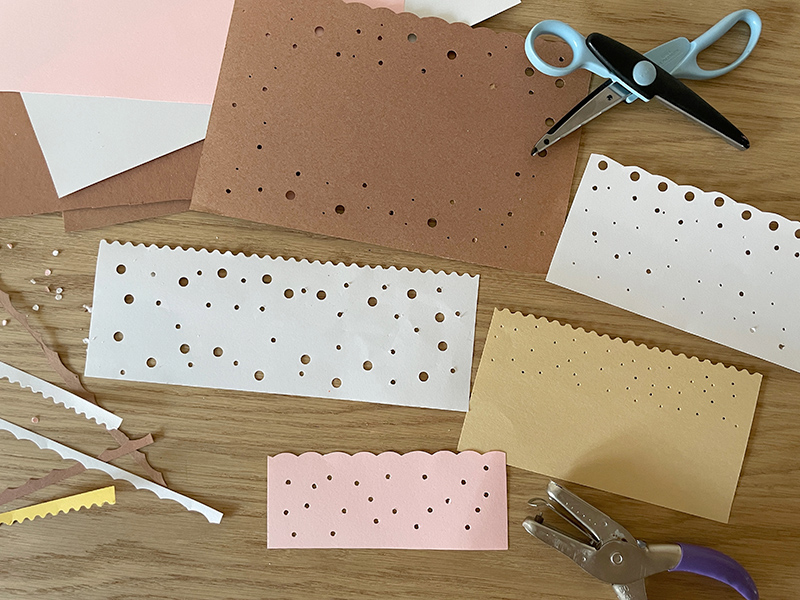
1. Cut paper to different sizes, anywhere from 3 x 7 inches to 6 x 12″. Any size will work, you can always trim the sides before gluing.
2. Set it out with some decorative edge scissors and hole punch for kids. Don’t stress if they theirs don’t look perfect, it’s the imperfection that makes them charming, and also learning cutting and punching skills. You can make your own, too, and combine them all into one grouping.
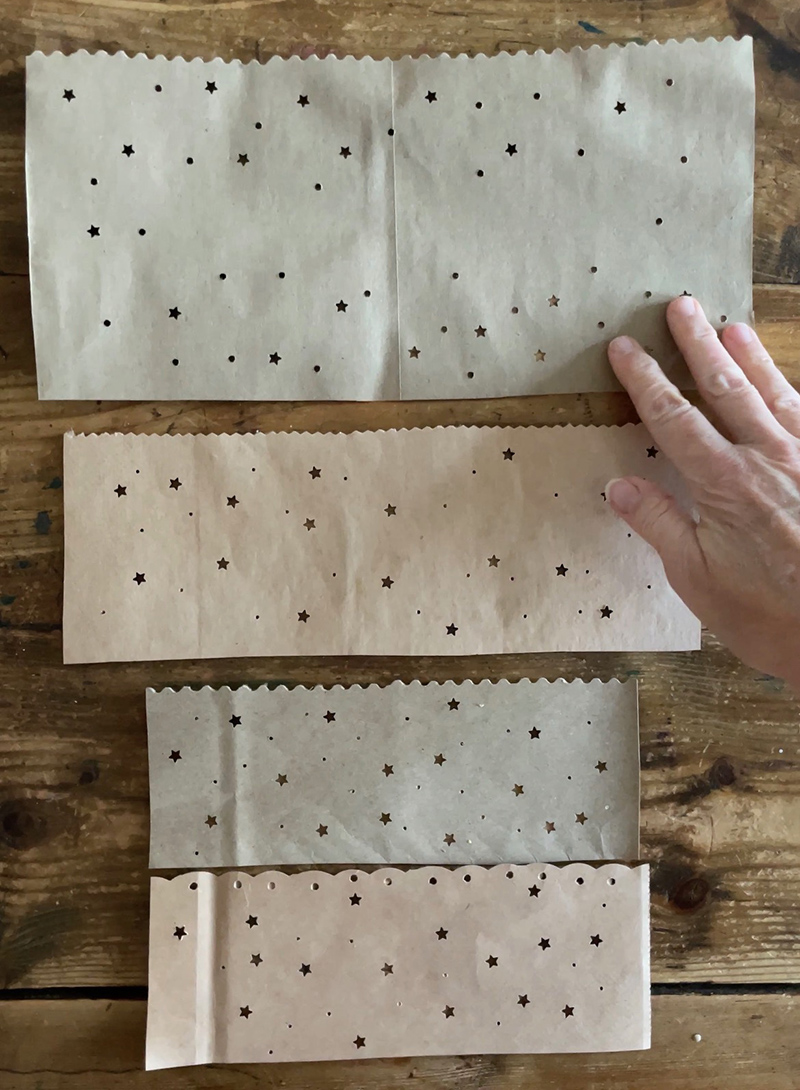
3. These are the paper bag ones using the start punch which is so cute.
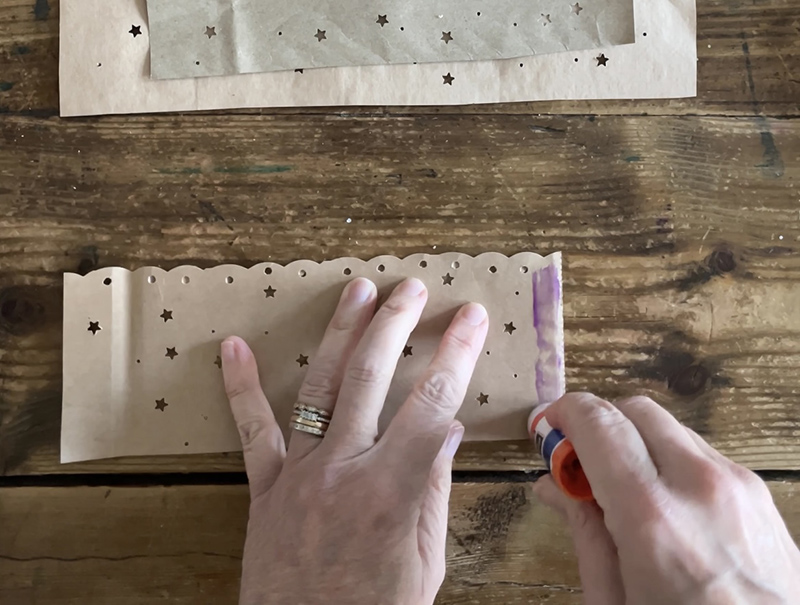
4. Glue the sides together with a glue stick, just make sure to hold down and rub edges together for a minute so it doesn’t come undone. You can always use a hot glue gun, too.
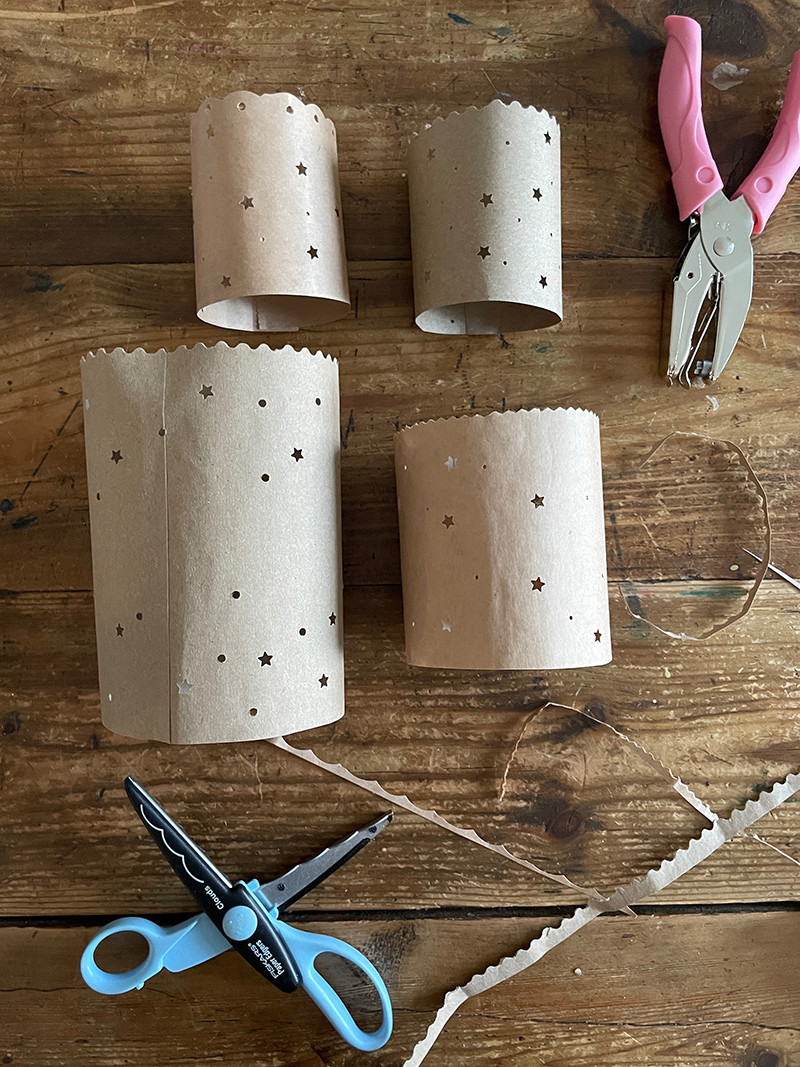

5. Add tea lights and that’s it! So easy.
Tag me on Instagram if you try these! They really are so simple with such a big impact on making a space warm and cozy, especially in these darker, winter days.
xo Bar
– – – – – – – – – – – – – – – – – – – –
Did you like this post? Here are some more paper crafts:
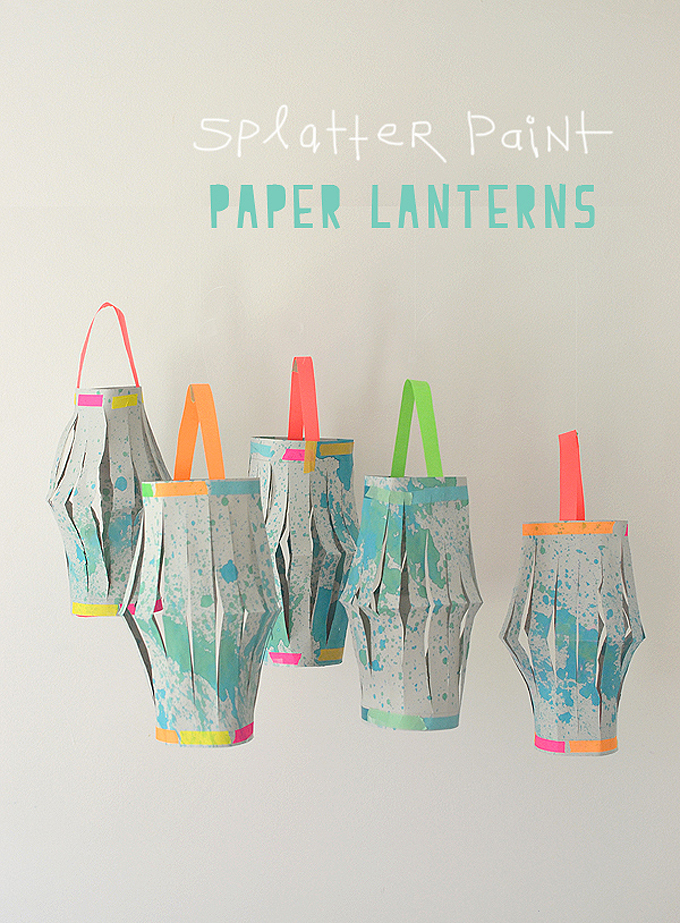
Paper Lanterns by Kids

Watercolor Paper Pinwheels
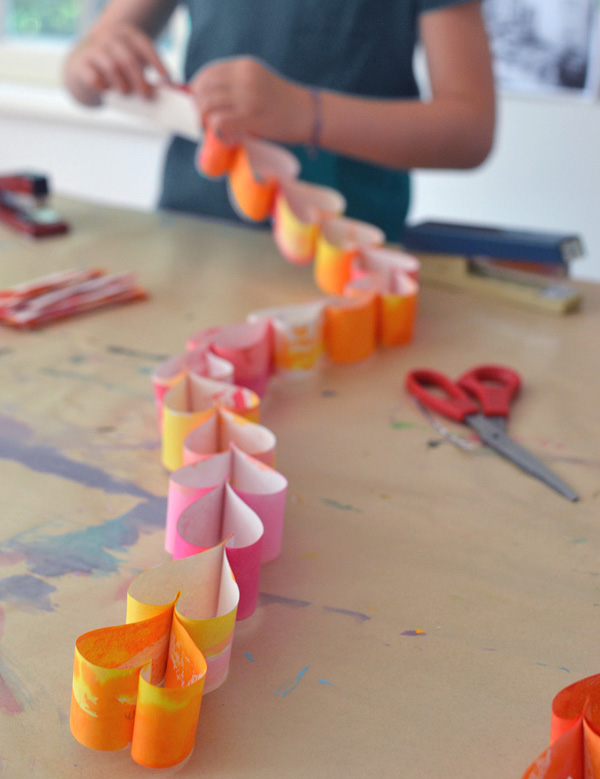
Heart Paper Chain


:strip_icc()/BHG_PTSN19720-33d9cd22f6ab49e6a21982e451321898.jpg)

More Stories
Mapping Eastern Europe Website Launched
Kengo Kuma Designs a Dramatically Vaulted Cafe to Evoke Japan’s Sloping Tottori Sand Dunes — Colossal
Keeping The Artist Alive | Chris Locke | Episode 888