Diversify textures to create details, convey mood and build atmosphere in a painting.
by Andy Evansen
When people think of the word “texture” in the context of painting, typically they envision something rough. Texture doesn’t have to imply bumps and ridges, however. Texture can also feel smooth, damp, soft, and so on. Making clouds look soft, roads appear wet and trees look alive has a lot to do with timing, the way you handle your paint application and the type of brush and paper you use.
Applying Washes
There are three basic types of washes, or stages, employed in watercolor: wet-into-wet, wet-on-dry and dry-on- dry (or drybrush). Most watercolor paintings incorporate all three types of washes. Wet-into-wet is typically used for the initial light wash, when you dampen the whole paper and paint the sky and local colors of the landscape. It’s all very loose and begins to set the stage for the rest of the painting.
Wet-on-dry is used when you first begin defining things on the ground plane. In my experience, this is the most difficult part of a watercolor because it’s easy to focus on individual objects and lose sight of the larger composition. In order to get large, strong descriptive shapes, the puddles of color and brush must be wet so you can lose edges between shapes of similar value as you work to connect them. The paper, however, should be fairly dry to ensure the silhouettes of those shapes are accurate. I usually switch between a few different brushes at this stage of the painting.
Dry-on-dry is used when it comes time to paint the darks of elements, such as figures and objects. The paper is dry, and you should be using fairly undiluted paint. I prefer to drybrush most of the details, if possible, to keep them from becoming too overpowering, especially windows. Drybrushing some of your figures will help them to appear blurry, as if they’re moving.
Style and Substance
My painting style could be described as loose realism. I try to achieve a sense of accuracy without using too much detail. Basically, I want to stop painting before the work becomes a rendering. Leaving much to the viewers’ imagination helps engage them in your painting and also lends an impressionistic feeling to the work. When you’re leaving out a lot of detail, however, it becomes that much more important that the shapes you do include are convincing.
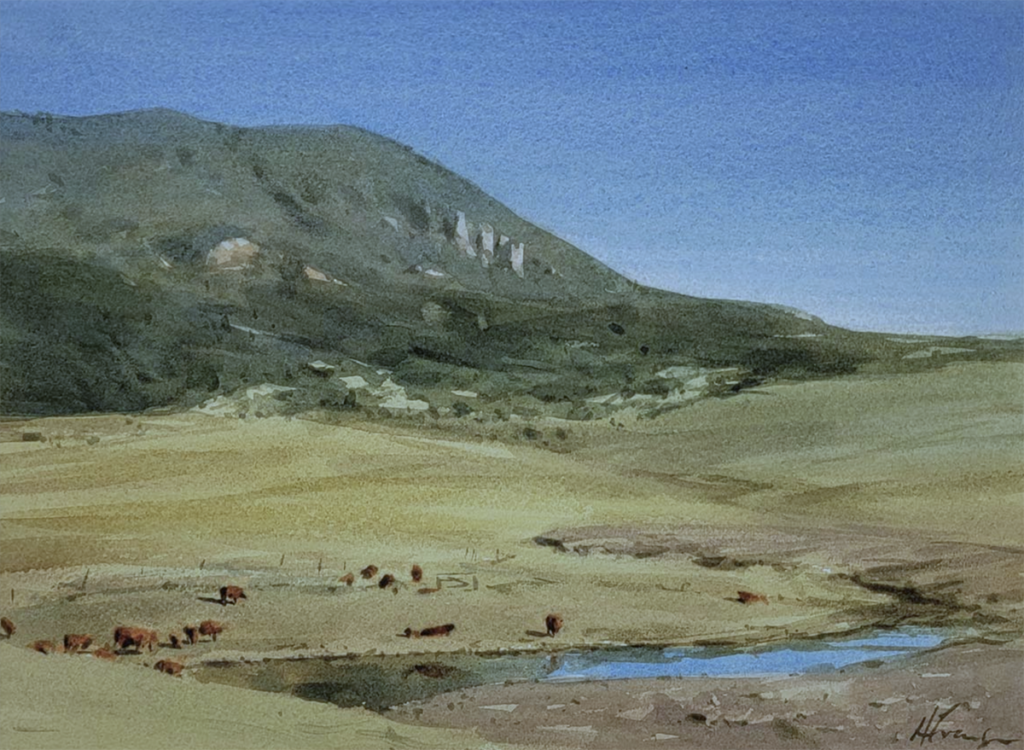
To that end, I work on paper that’s damp for much of the painting. It’s important that I create the impression that the “animated” aspects of my watercolors (figures, animals, trees, clouds etc.) appear as if they’re alive and moving. Once I’ve gotten my initial light wash on the paper, I’ll go back in with a small brush and thicker paint and drop in some darker values and colors where those objects will be. I’m not necessarily describing them just yet, but when I come back later to define things after the paper has dried, it does help if there’s some blurred color from previously applied washes to help create the impression of movement. Colorado Vista (above) is a good example of this, with the cattle having slightly blurred edges and darker, more defined shadow sides.
Atmosphere and Details
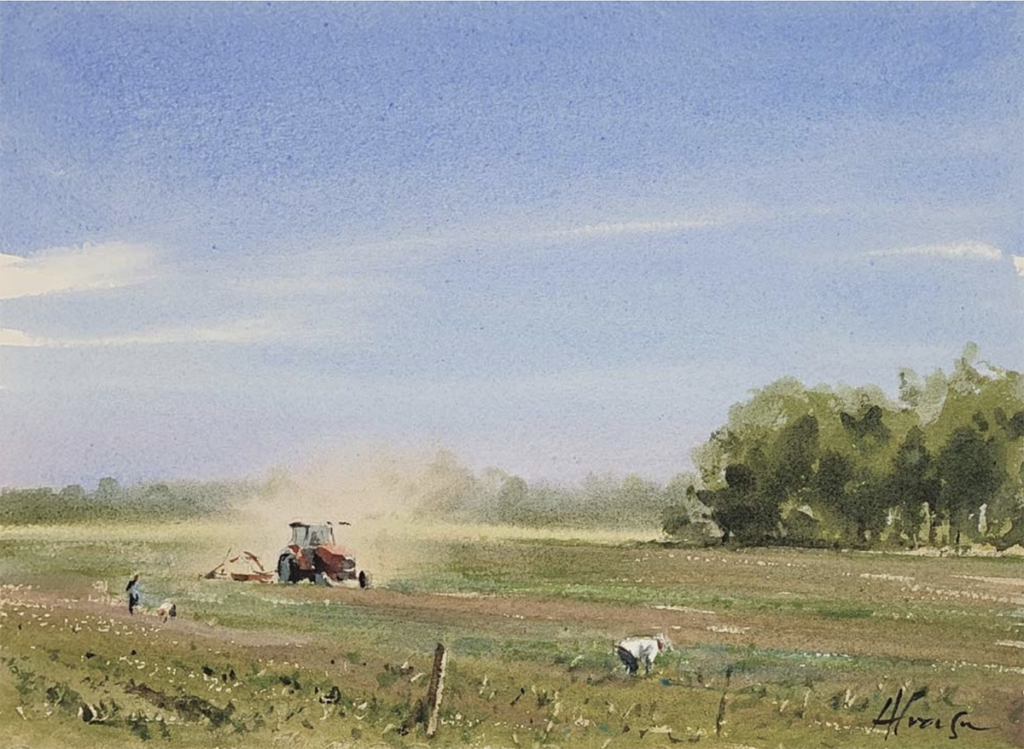
If I’m painting fog, snow or rain, I’ll work on damp paper for the majority of the painting, blurring shapes to give the illusion of a wet atmosphere. Dust and smoke are also fun challenges. You can always come back in and create these effects with gouache, but I prefer to achieve the impression by working into that light area wet- into-wet. In my painting Crop Dust (below), the sky and dust were painted in the first wash, and while that was still drying, I began to paint the distant trees and field, letting them gradually disappear as they got closer to the tractor. After the paint dried, I came back and added the darker, defined tractor, which also helps the illusion. The trees behind the dust are soft and blurred. The midground trees, which I painted later, are more defined and textural.
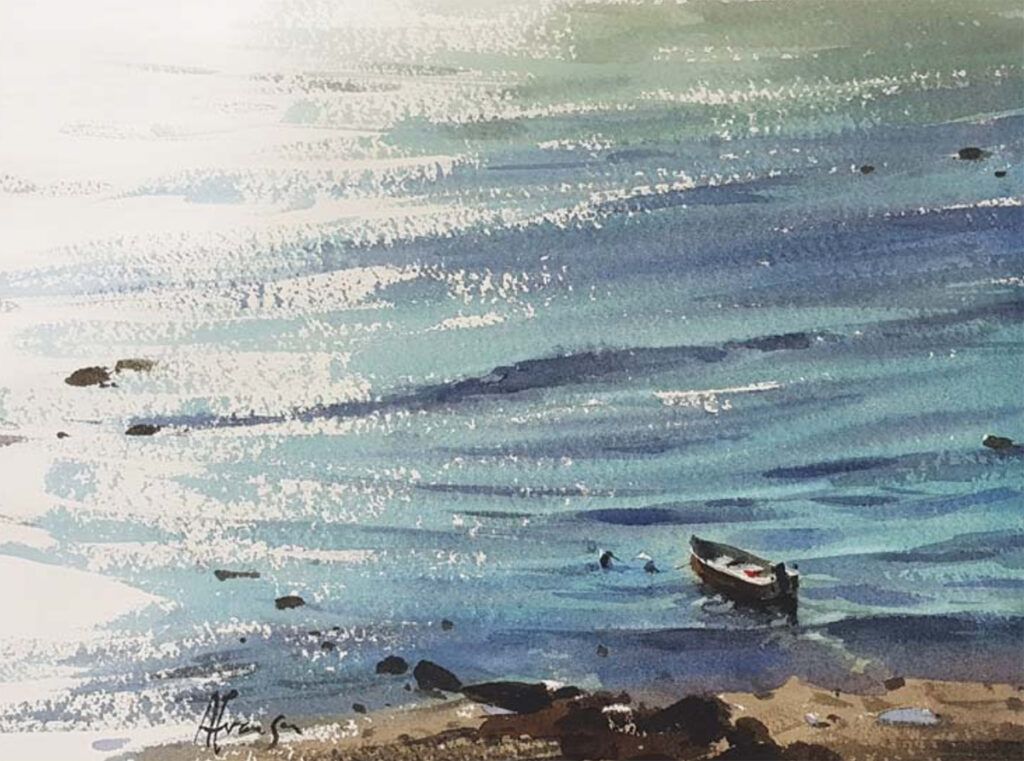
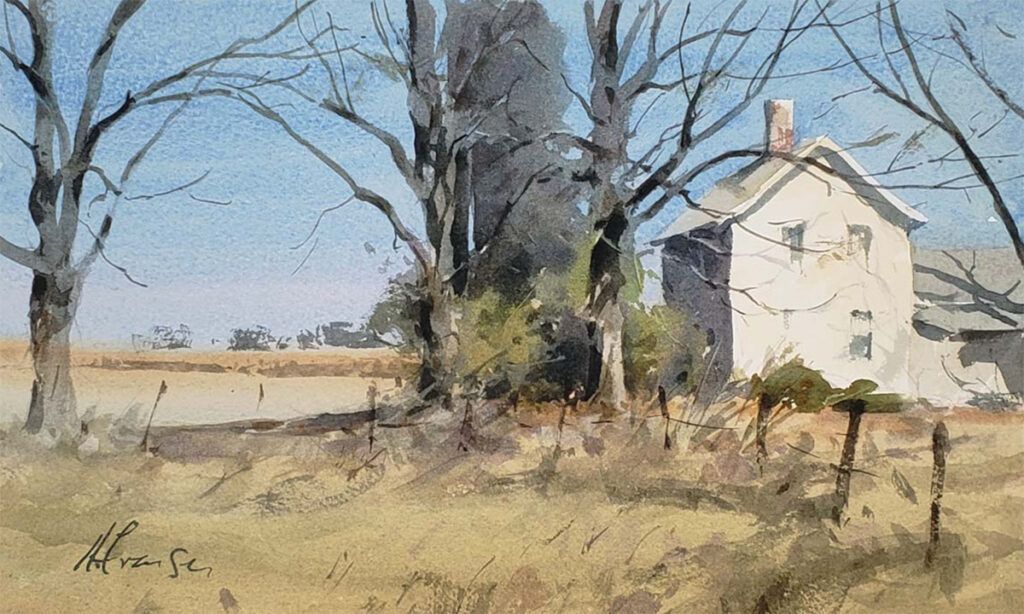
Drybrushing can be useful for more than just small details, of course. Creating the illusion of dirt roads, foreground grasses, glare on water and leafless winter trees are all the result of a rapid application of thicker paint with a light touch, taking advantage of the paper’s texture to break up the brushstrokes. In my painting Daunting (below left), the bright glare was created using large brushstrokes, lifting the brush as I got close to the area I wanted to leave as white paper. In Farmhouse Trees (below, right), you can see the use of rapid strokes to indicate both foreground grass and distant trees as well as quickly suggested windows. You can also see—in the connected shapes of the trees and on the side of the house—how I was able to create soft, lost edges by working wet-on-dry.
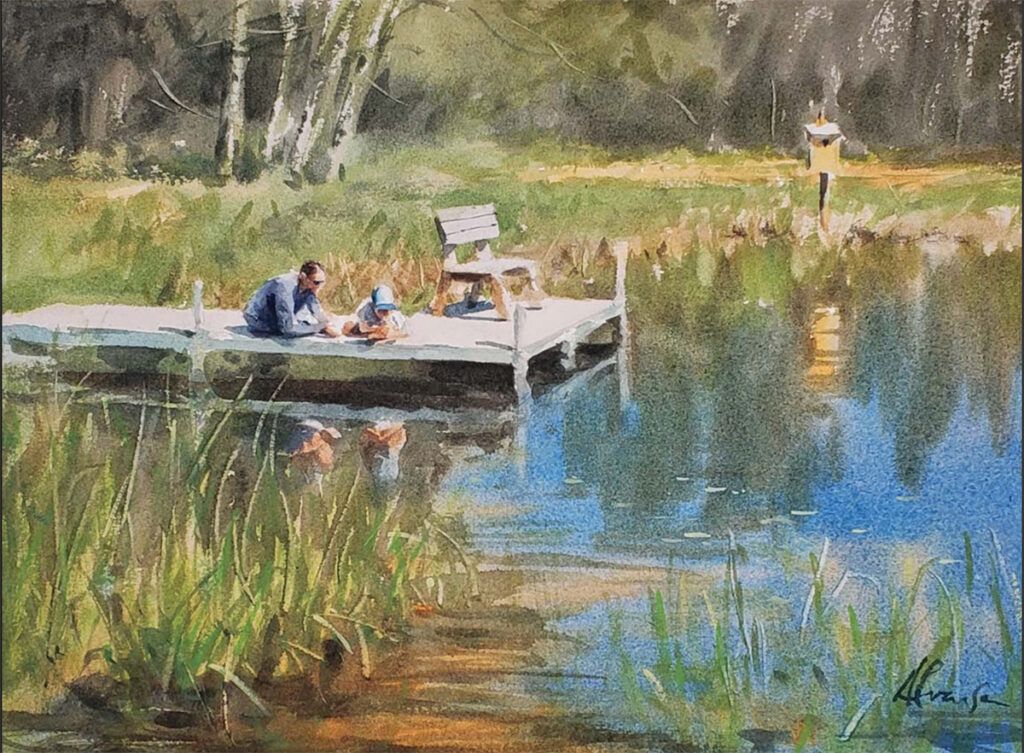
One more “trick” I like to employ for light blades of grass or bright branches of trees is to scrape them out with my fingernail. I paint the larger shape of darker grass or trees and then, right before it’s dry, I scratch out some individual blades or twigs, as I did in several areas of Frog Hunters (below).
Steps to Success
Our challenge as watercolor artists is to create a convincing, three dimensional world of form and distance on a millimeter-thick piece of paper. Getting familiar—and comfortable—with all the various stages of wet and dry washes to create visual texture is vital to achieving a successful painting.
(This article initially appeared in the Winter 2022 issue of Watercolor Artist Magazine, which also contains a demo. Print and digital formats are available here.)


:strip_icc()/BHG_PTSN19720-33d9cd22f6ab49e6a21982e451321898.jpg)

More Stories
Fresh and Airy Interior Design Living Room Ideas for Summer
Where Art and Sound Converge: Exploring Fine Art Photography and Music Artist Portraiture
Cooking Chinese Cuisine with Ease Using Jackery Solar Generator 5000 Plus