

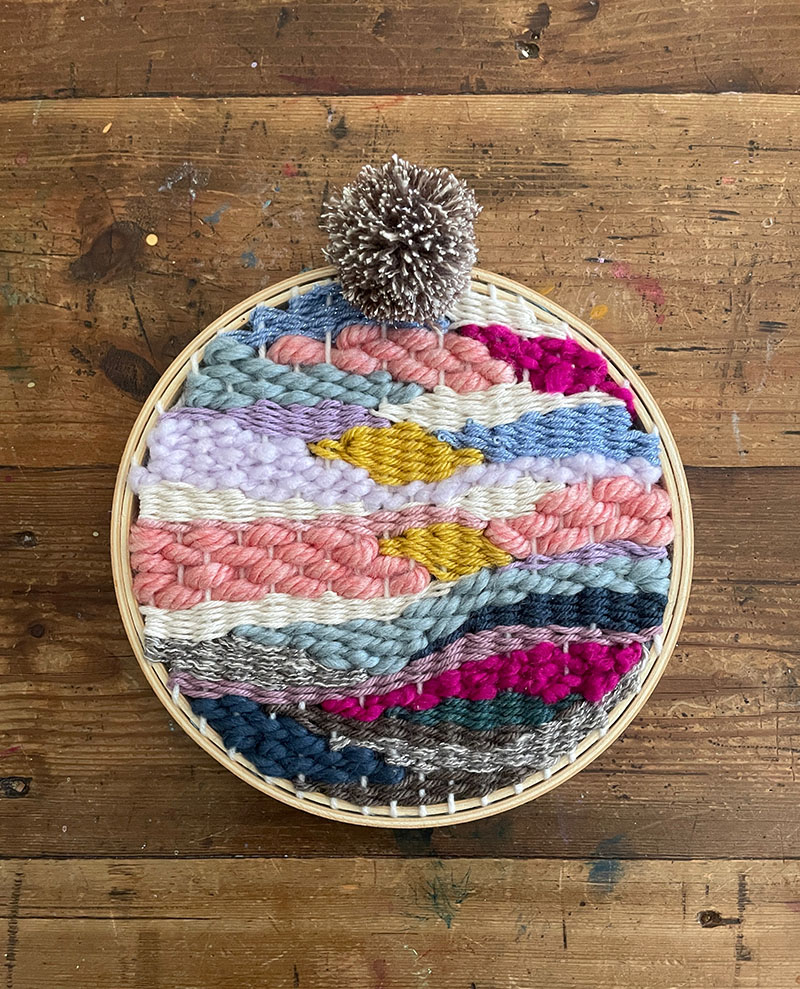
My mind is continually trying to suit in time to weave. I am this kind of a amateur, and never really have a design, but I enjoy enjoying close to with shade and form. This time I tried using a round doodle weaving employing an embroidery hoop! I didn’t observe anybody’s directions, I just built it up as I went alongside. I am confident there are greater strategies to do this, but I just used tape, yarn, and a glue gun.
For a lot more in-depth guidelines, see my very first doodle weaving listed here. I employed the exact method.
And if you want to see a short online video, simply click below to watch my Instagram reel.
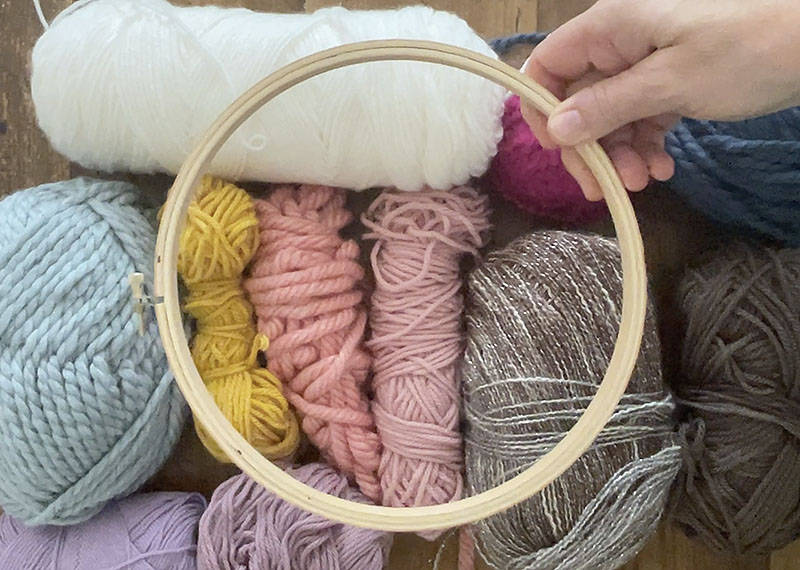
Materials wanted for round doodle weaving:
~ Yarn in distinctive colors and weights (you can go to a craft keep or buy on the net – low-cost yarn is just great)
~ Wooden embroidery hoop (I utilised an 8-inch hoop)
~ Masking tape
~ Pom-pom maker (optional)

How to make a round doodle weaving:
1. Established up the warp (these are the vertical threads). I did this by slicing a complete bunch of threads and then taping them to the side of the hoop. I did not evaluate, just eye-balled. I also loosely taped the hanging threads up to the aspect which is why it seems like there is so considerably tape.
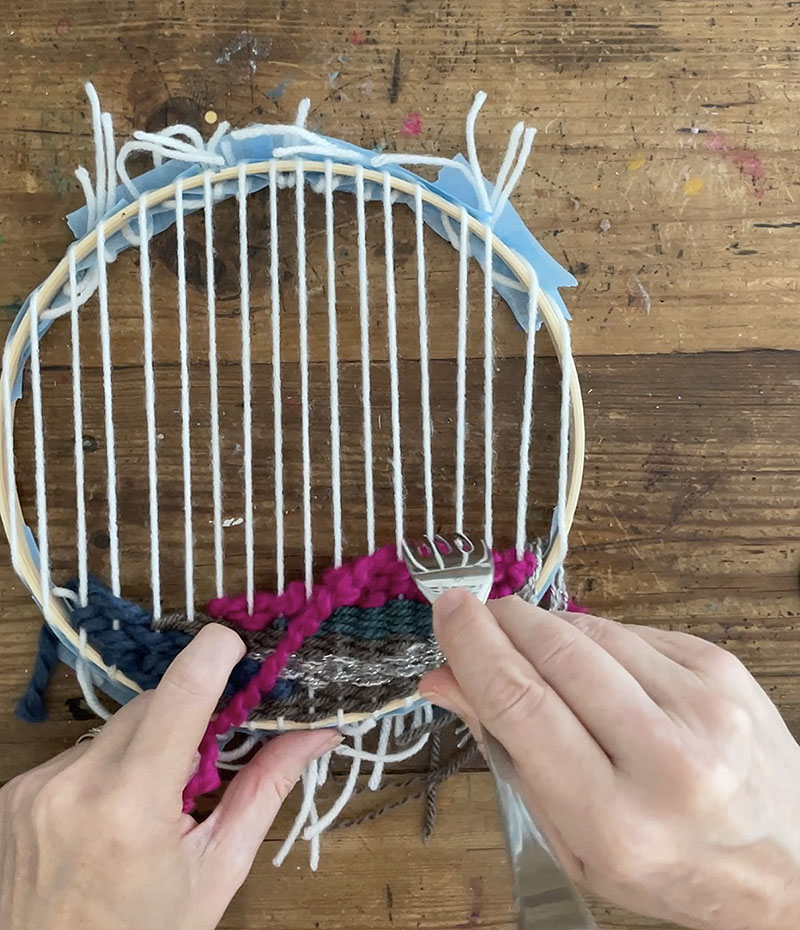
2. Get started weaving. Just about anything goes, right here. Refer again to my initial doodle weaving post for far more specific instructions. Just commence and conclusion beneath. And use a fork to thrust down the weft (all those are the horizontal threads).
3. I use a “shoelace” technique when weaving whereby I wrap the end of the yarn with a piece of tape so that it is easier to weave with. This is since I are not able to come across my plastic weaving needles. But it’s also mainly because I cannot see perfectly adequate to thread the needle. This technique will work actually effectively for me. It is fast and easy.
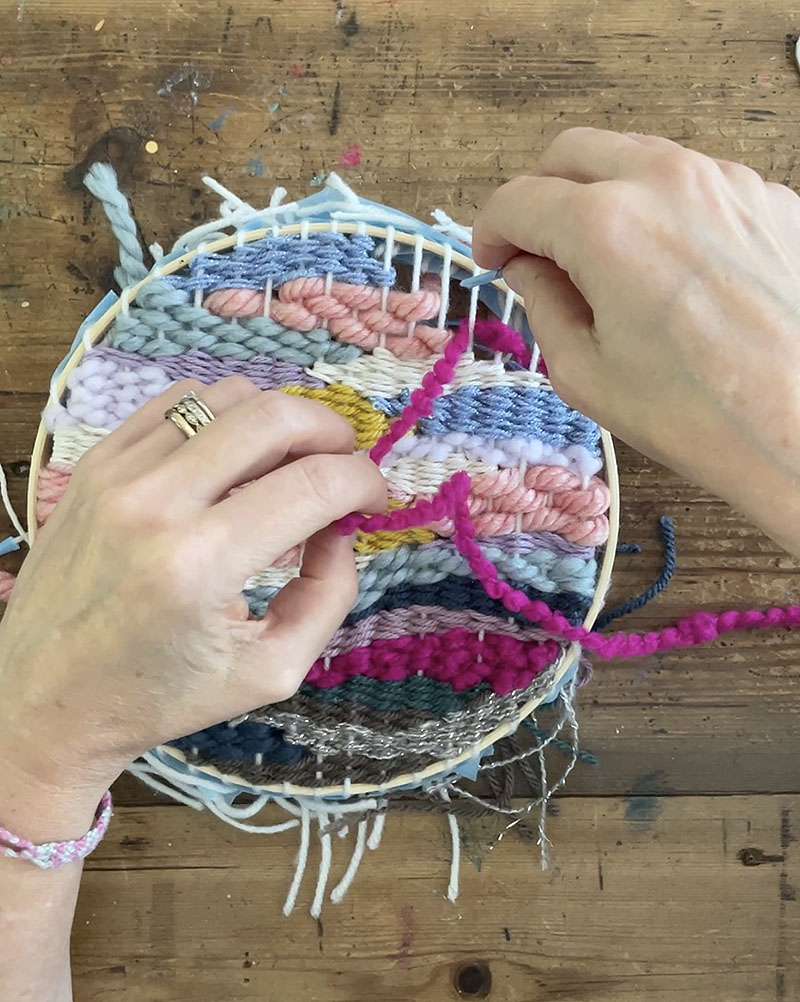
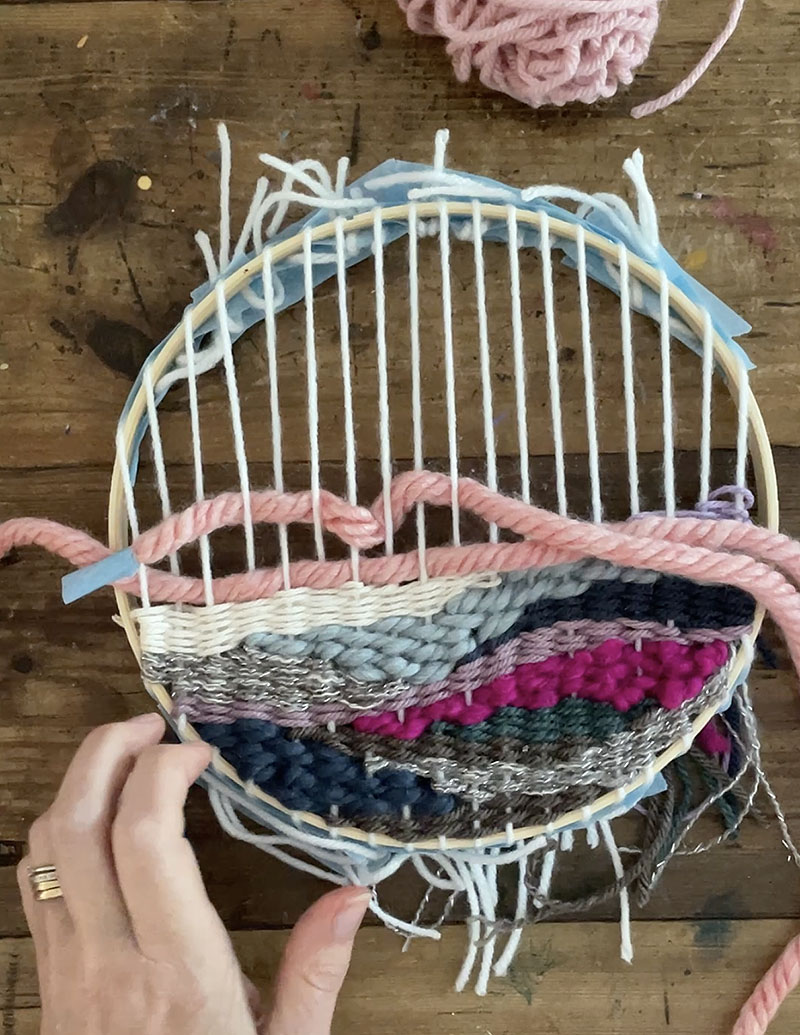
4. You don’t have to go from bottom to best when doodle weaving. You can commence everywhere and move close to until finally it is all loaded up. I eventually want to weave like I would attract, but for now I instinctively go bottom to top rated. You can also go back in and fill areas if there are gaps. The fork definitely allows to make it all tight.
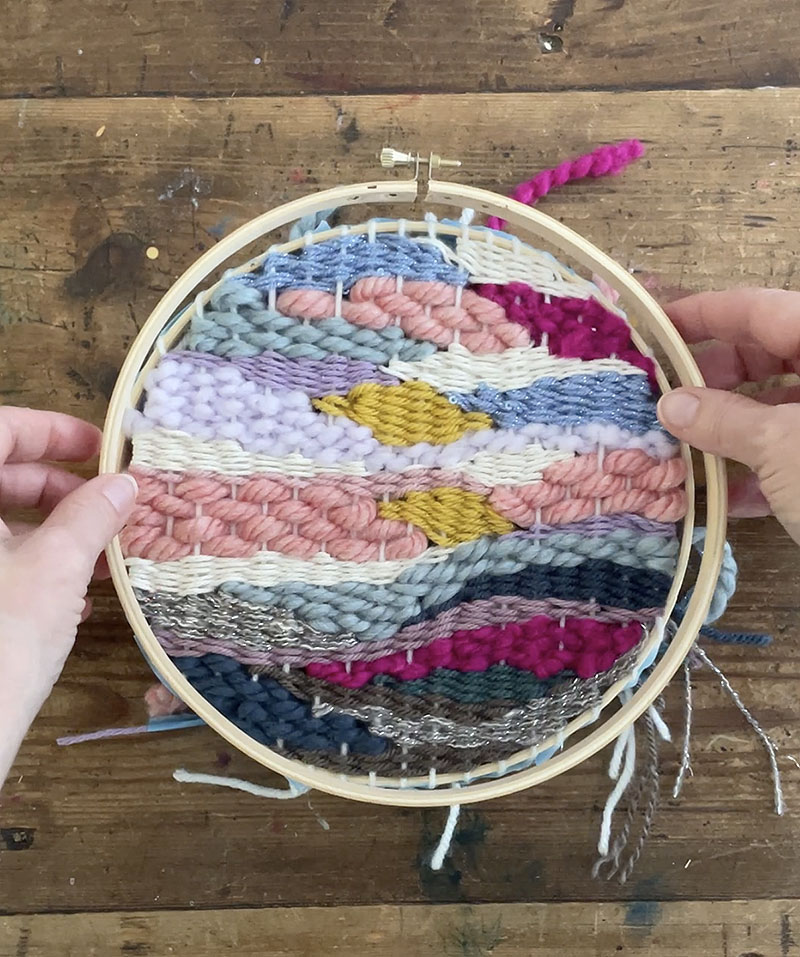
5. When finished, I pulled off the blue tape that I employed to loosely keep the finishes, but I still left the tape that retains the warp. I produced sure you could not see it when putting the outer hoop above the inner hoop. Tighten the outer hoop as tight as you can.
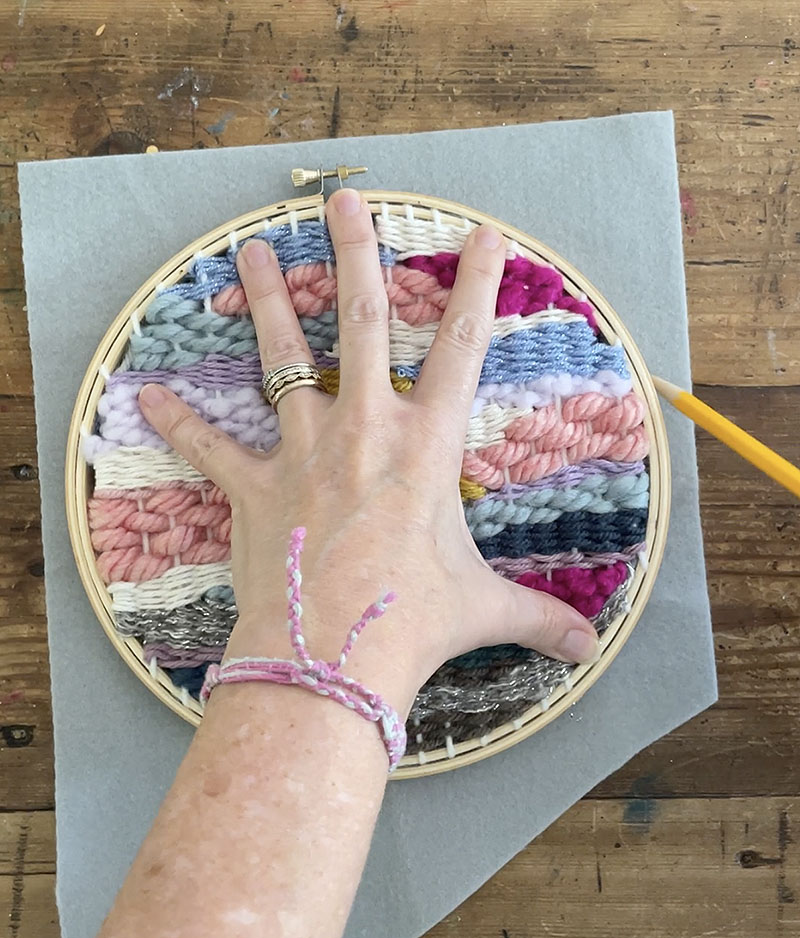
6. Trace the hoop onto a piece of felt with a pencil.

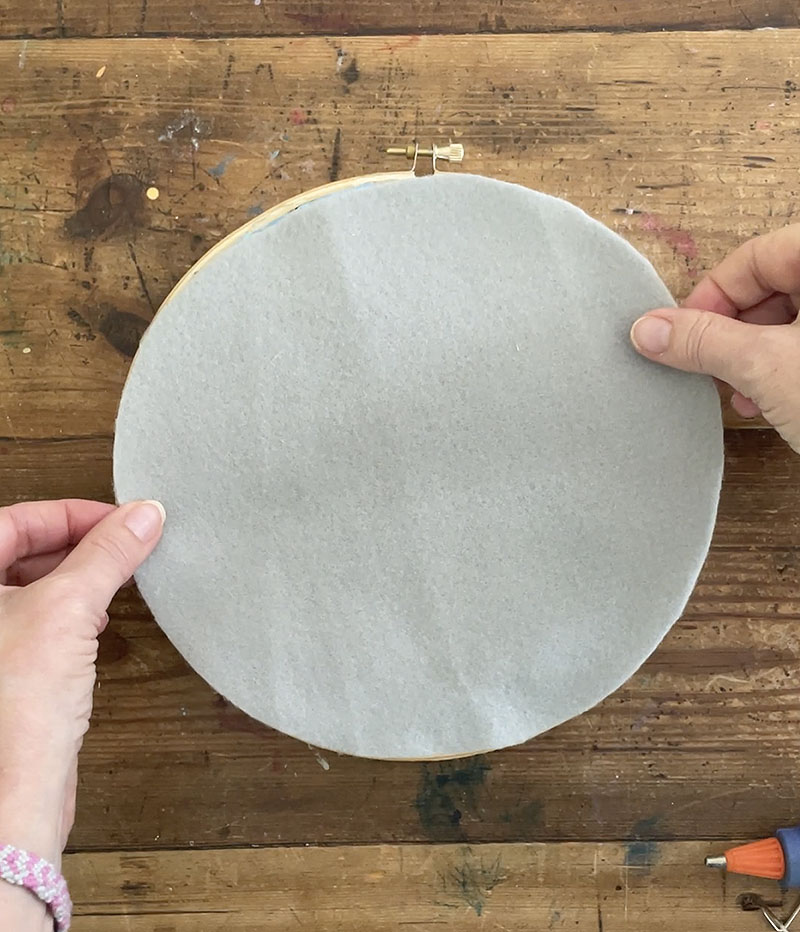
7. Incredibly hot glue the felt to the back. This is a truly effortless way to end the weaving so you really don’t have to deal with all the finishes!
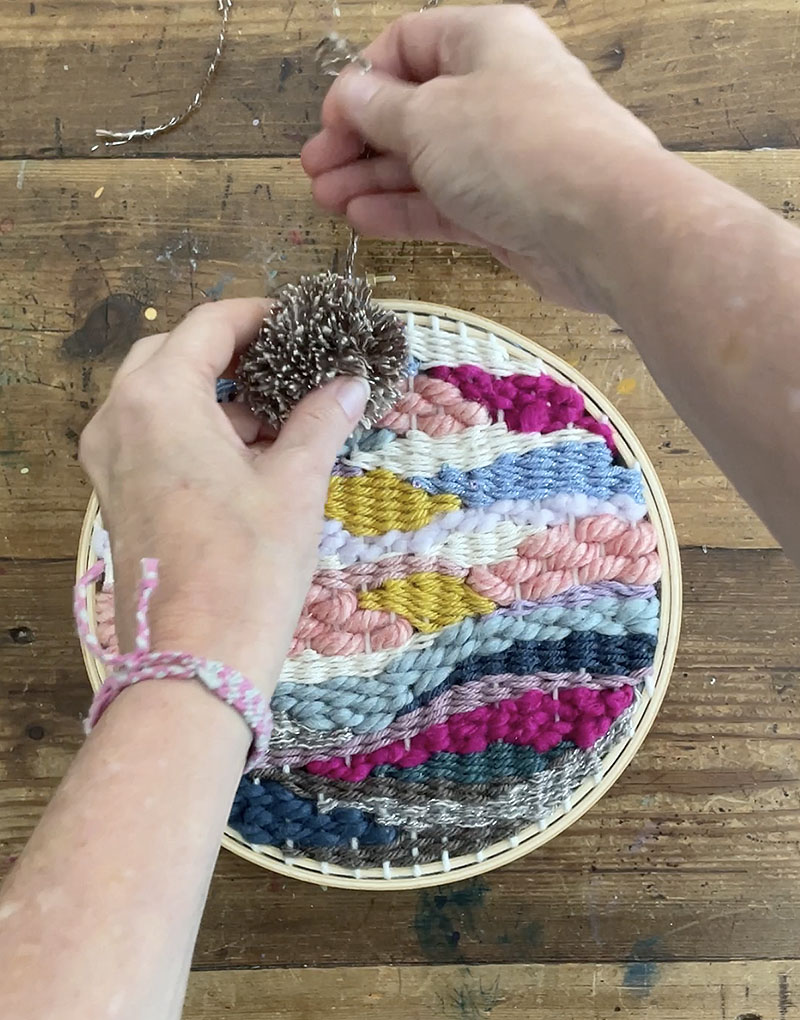
8. Make a pom-pom to include the tiny knob on leading of the hoop. Add a piece of wire to cling!
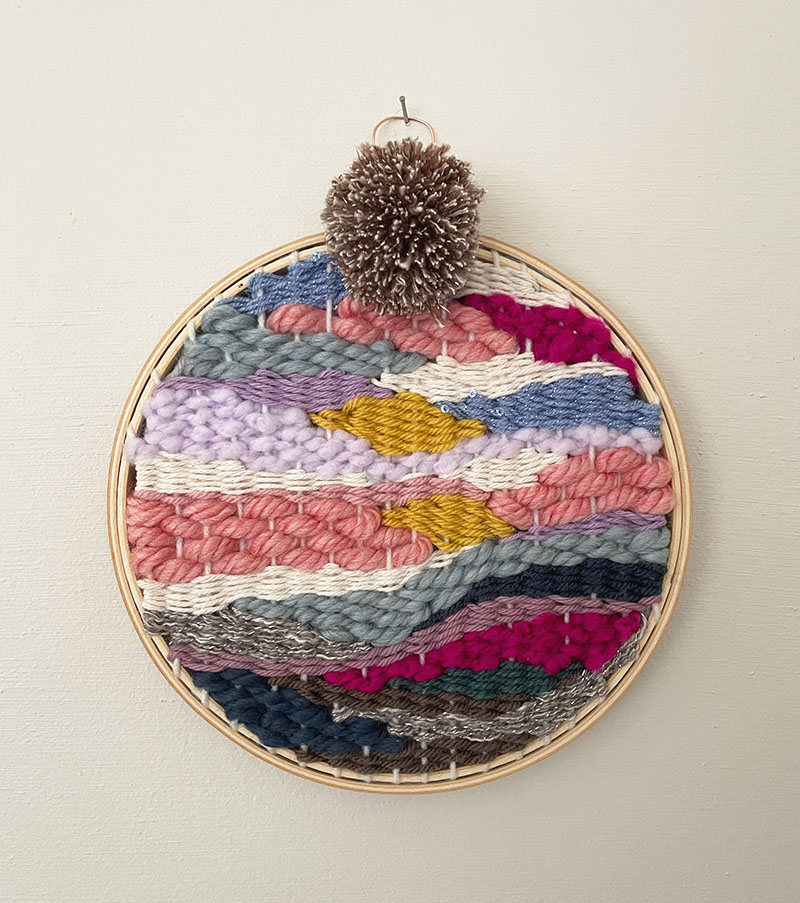
Voila! Don’t fail to remember to enjoy the movie!
xo Bar
– – – – – – – – – – – – – – – – – – – –
Did you like this put up? Below are extra craft ideas applying yarn:
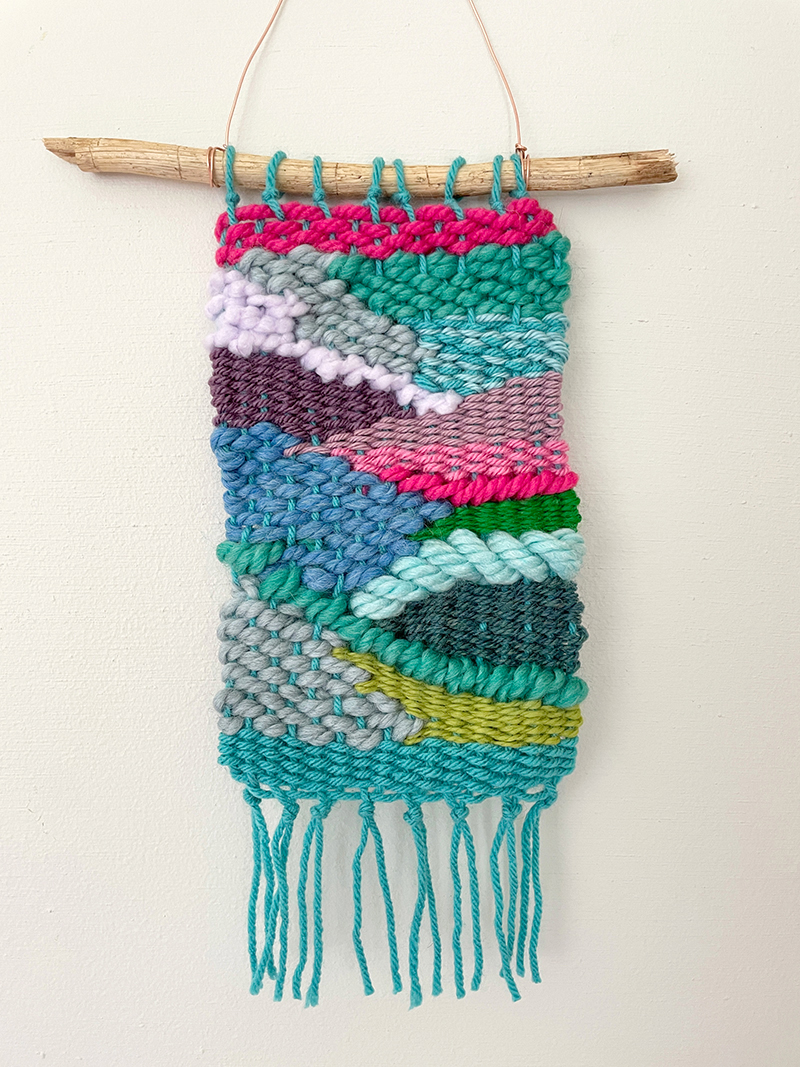
Doodle Weaving with a Cardboard Loom
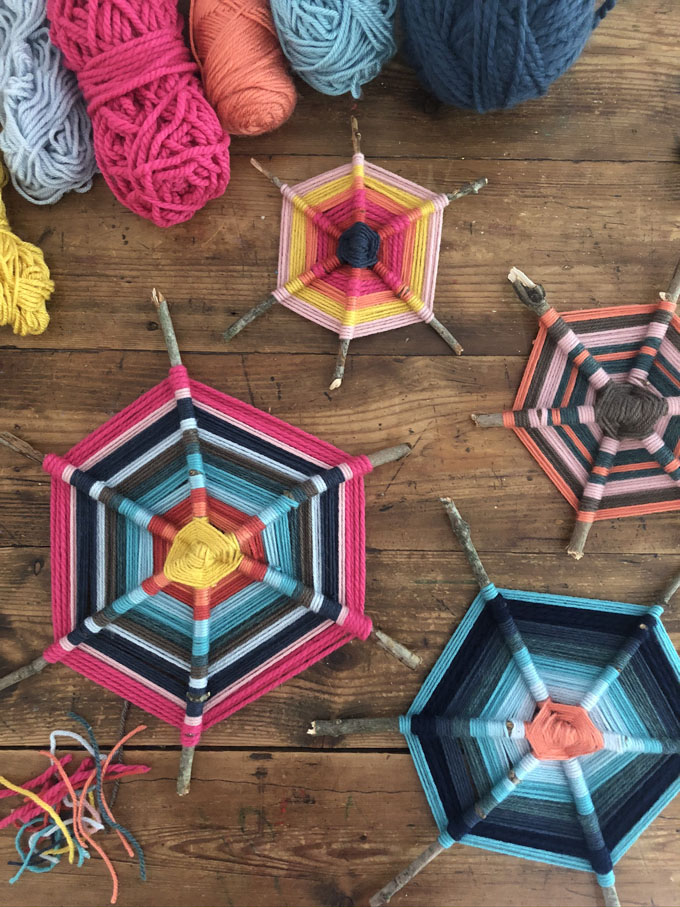
Six-Pointed God’s Eye with Sticks
Rainbow Weaving with Koolaid Dyed Yarn

:strip_icc()/BHG_PTSN19720-33d9cd22f6ab49e6a21982e451321898.jpg "Fresh and Airy Interior Design Living Room Ideas for Summer")


More Stories
The Ultimate Suit Lining Style Refresh
Review of Jackson’s Curated Sets: Moku Hanga Printmaking
Gurney Journey: Midwinter Greetings